
Placement Factors
The second article in Steve Bonsor’s series on the use and abuse of dental materials looks at placement factors to get the best results for your patients
The first article in this series discussed the potential problems that can arise even before the dental material has been placed in the mouth by inappropriate handling of the product. It stressed that materials must be used in line with the manufacturers’ directions to yield predictable clinical results.
This article discusses how materials should and, equally should not, be handled in the mouth to achieve the best
clinical outcome.
Moisture control
Once the material has been mixed by the dental nurse and handed to the dentist, there are various factors with respect to clinical placement that will have a bearing on the success or otherwise of the restoration. The most obvious is the control of moisture.
Failure to allow dental cements to go to full set without being disturbed leads to damage to the bulk of the material
Placing a material into an inherently wet environment and expecting it to bond must be regarded as something of a tall order. Most dental materials are hydrophobic at worst or are adversely affected by water at best. Suboptimal performance will inevitably result if water contamination occurs during placement and before final setting. Indeed, poor moisture control is a major cause of adhesive failure and leads to inferior mechanical properties1 so it is critical that a dry environment is gained during material placement.
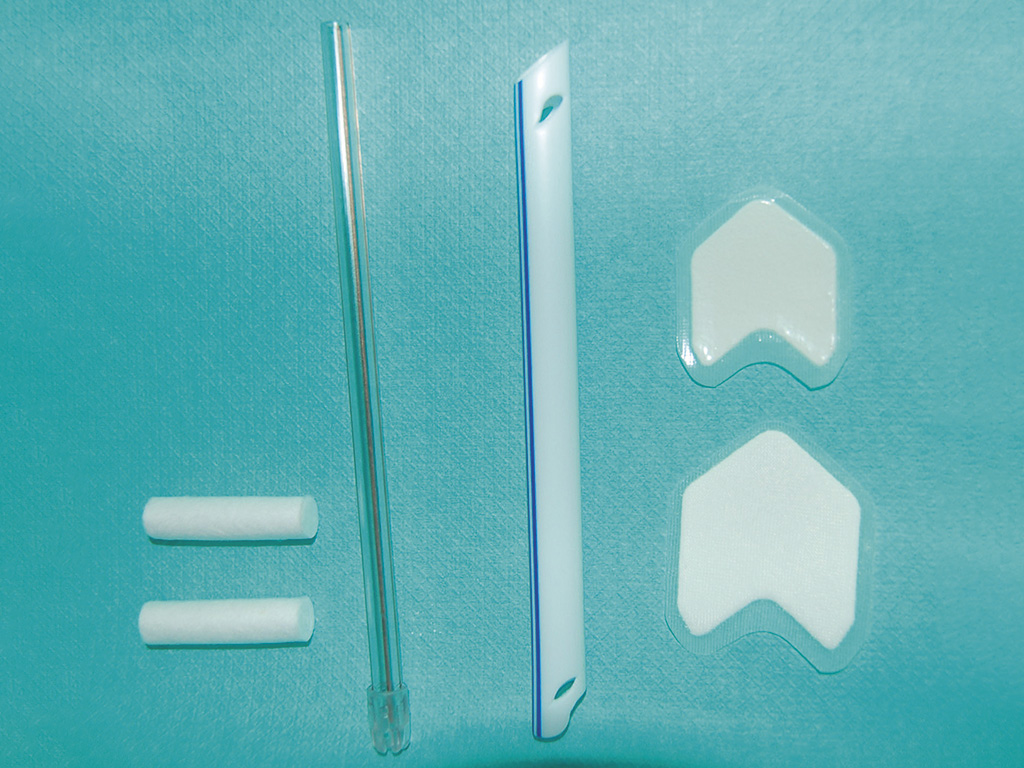
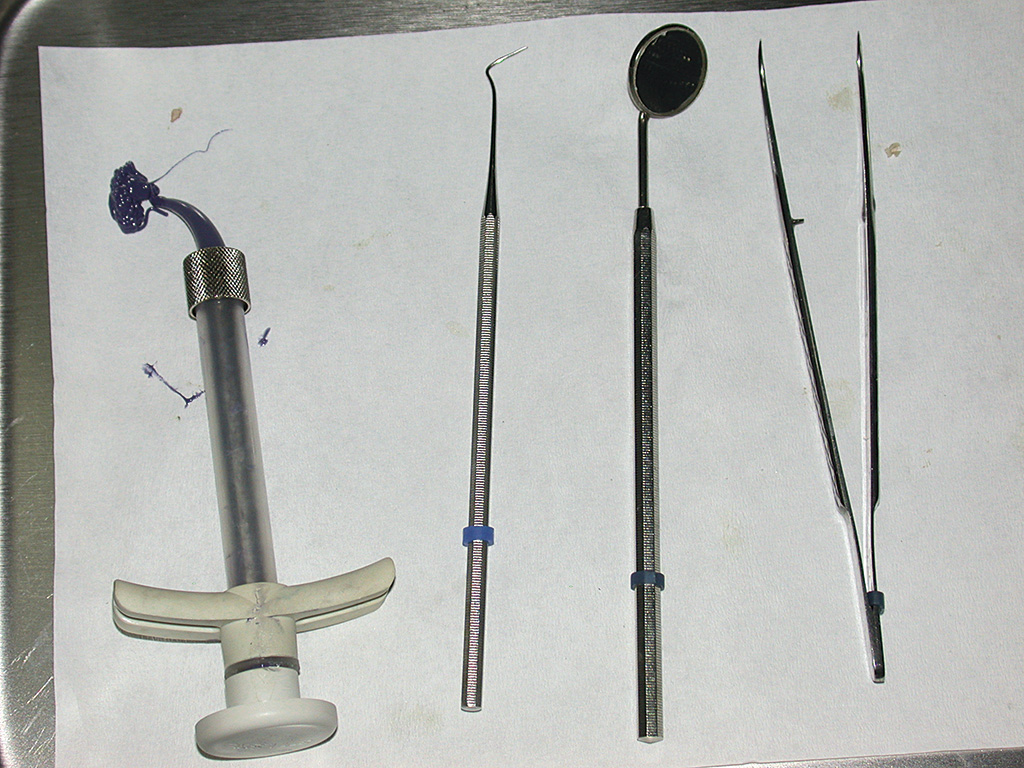
The ability to achieve and maintain an adequately dry field may well influence material selection, as will be discussed in the next article in this series. Although many aids are available to achieve this (Fig 1), the most predictable and effective method is the placement of rubber dam (Fig 2)2.
Moisture contamination may occur in the fluid form and also by water vapour in exhaled air. Intra-oral humidity can adversely affect the quality of the bond gained, particularly with resin-based composite materials. However, this potential problem may be easily overcome by the use of rubber dam2. With its application, the operator can control the environment much more precisely, so facilitating technically demanding procedures such as bonding3.
To underline this, the American Dental Association does not support the placement of resin composite restorations without rubber dam placement4. Rubber dam also has other merits and these have been widely reported.
Timeous placement and assessment of set
As soon as the two constituents of a two-paste system are bought together, the setting reaction starts. There is, therefore, a finite amount of time during the mixing and working phases in which placement of the material to the site of use must be completed prior to the commencement of the setting phase. Good teamwork and understanding is essential between operator and dental nurse to achieve this.
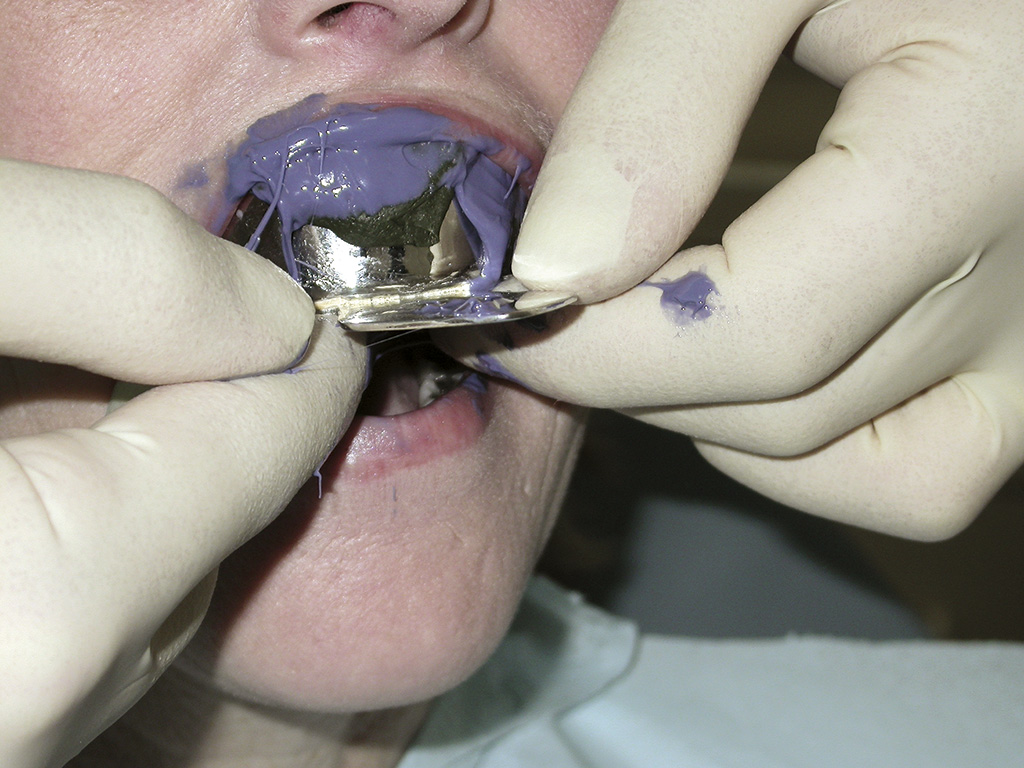
With many auto-mixed products, the first dispensed material should not be used clinically as it may not have fully mixed3. Figure 3 illustrates that this initial (in this case impression) material should be expressed onto the bracket table.
However, this material may be used to help the operator by gauging the completion of set of the rest of the mix. The ambient temperature in the surgery is lower than the intra-oral temperature, so when the expressed material has set on the bracket table, then the product in the mouth will have definitely completed its set.
-
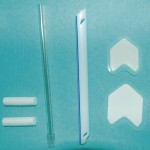
- Figure 1 Products used to control moisture are available such as (from left to right) cotton wool rolls, saliva ejector, high volume aspiration and dry guards
-
- Figure 2 Teeth 36, 35 and 34 isolated by the placement of rubber dam to facilitate the placement of resin based composite restorations in 36 and 35
-
- Figure 3 The first mixed material should be expressed and not used clinically. This will ensure full mixing of the components and can also be used as a guide to the set of the rest of the material
-
- Figure 4 The operator holding the impression tray steady with both hands until the material has fully set
-
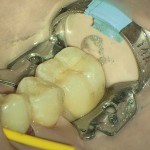
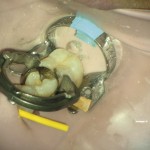
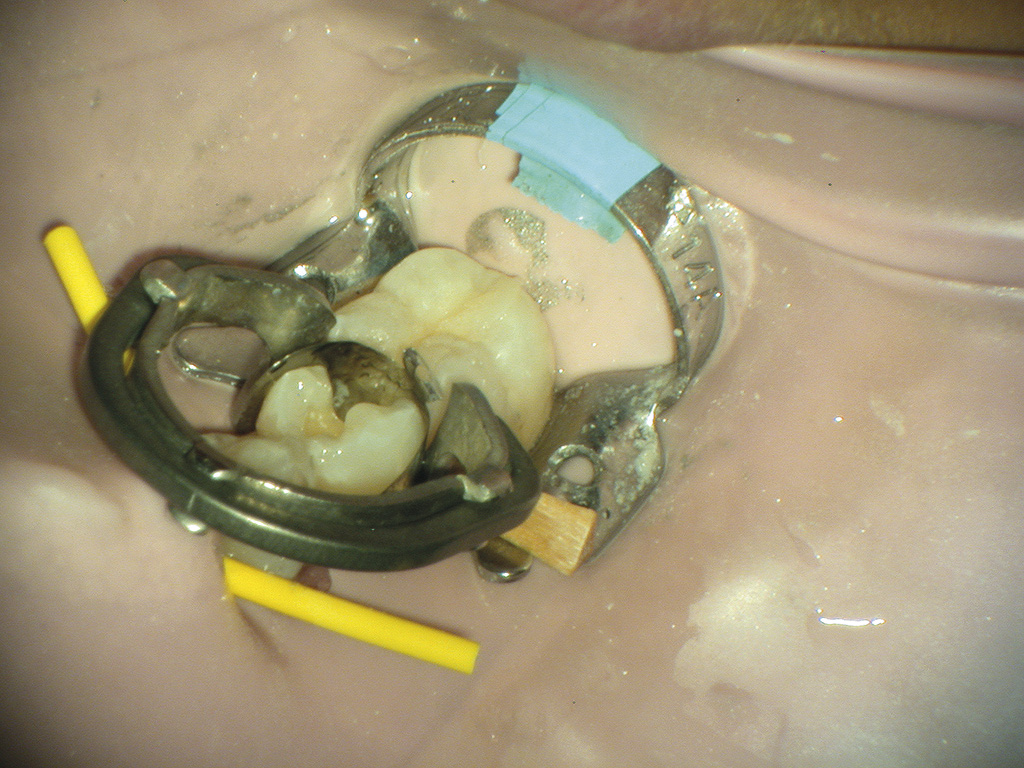
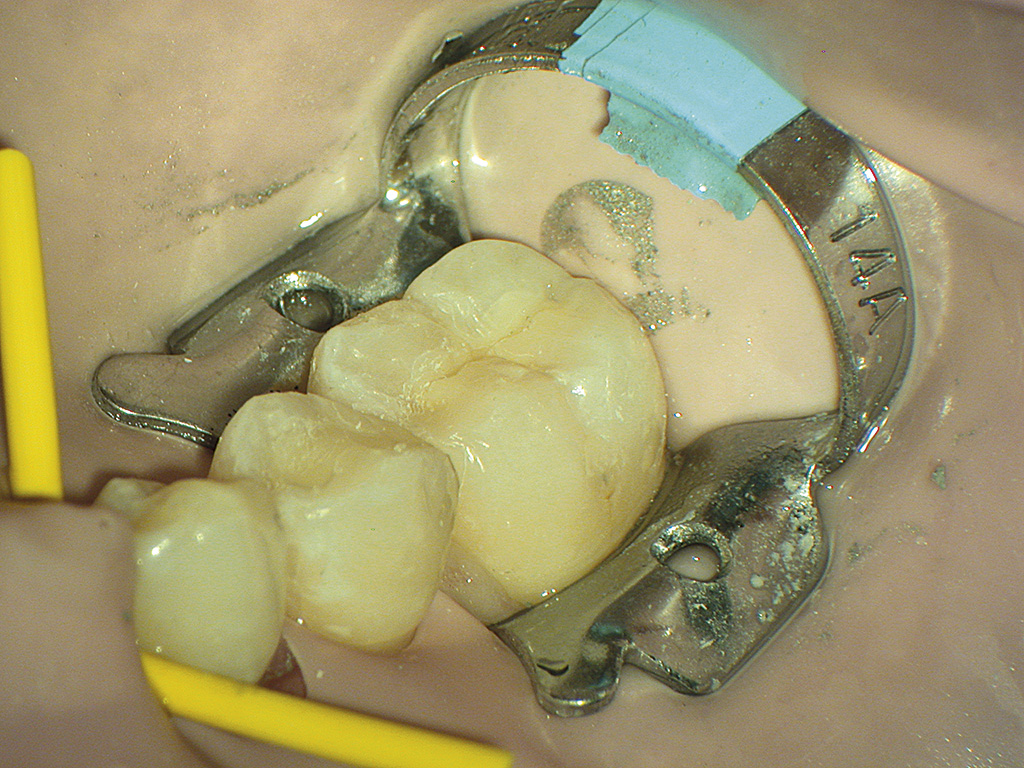
- Figure 5 An example of a sectional matrix system (V-Ring, Triodent) in situ to enable placement of resin composite to restore the DO cavity of 35
-
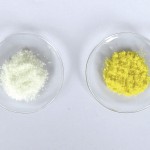
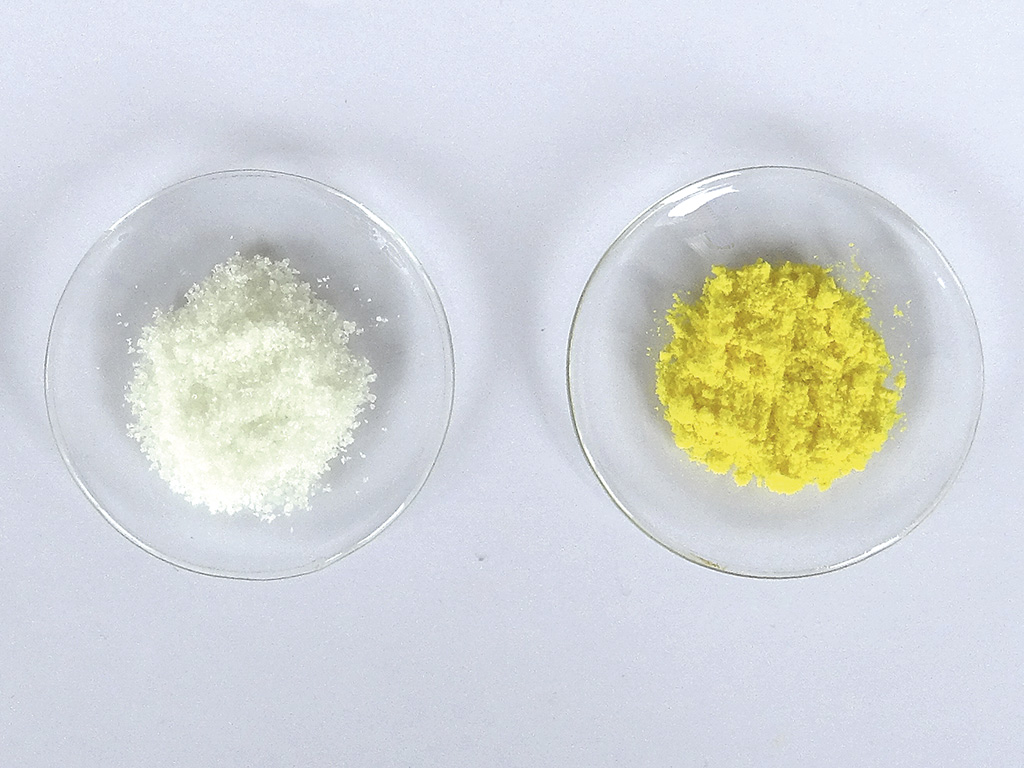
- Figure 6 Note the different in colour between the yellow camphorquinone on top and the white Lucirin TPO below
-

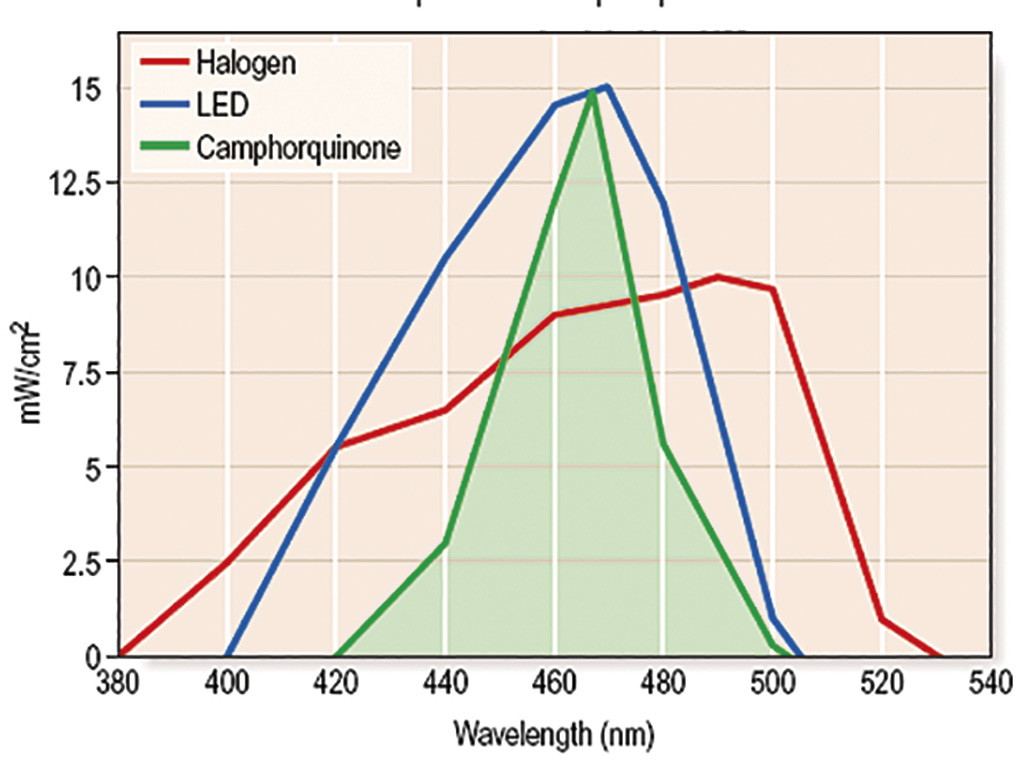
- Figure 7 The narrower (blue) profile of the LED corresponds better to the photo-initiator (green) than the (red) halogen lamp. The halogen light is therefore less efficient at the peak wavelength absorption than the LED
-

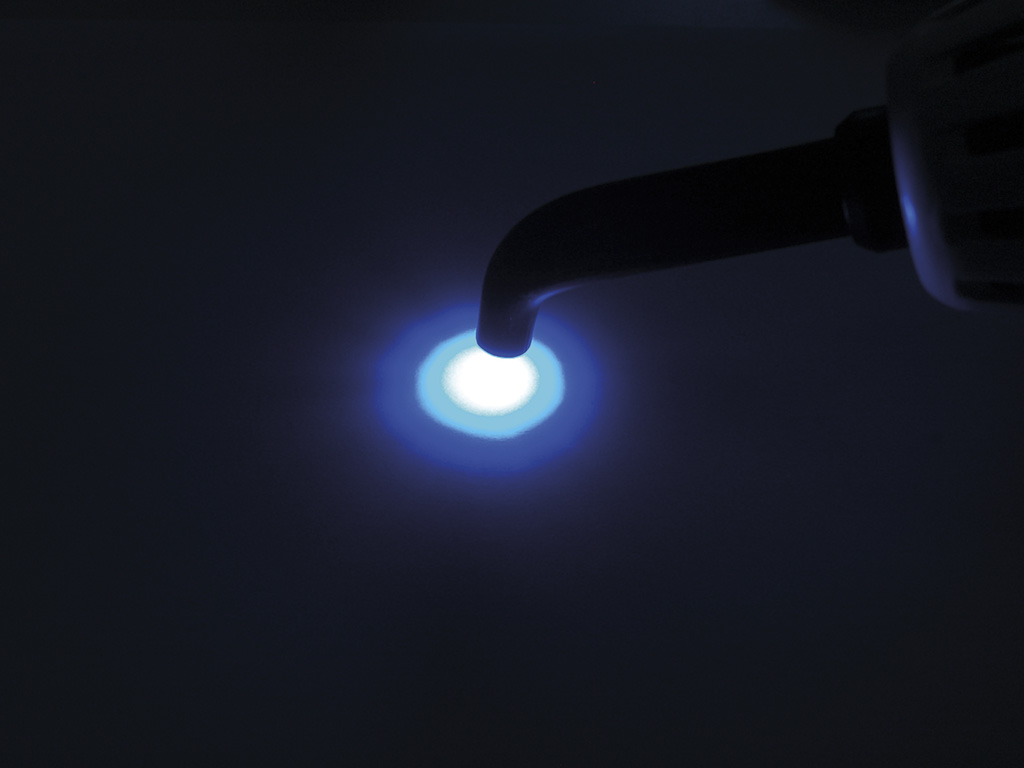
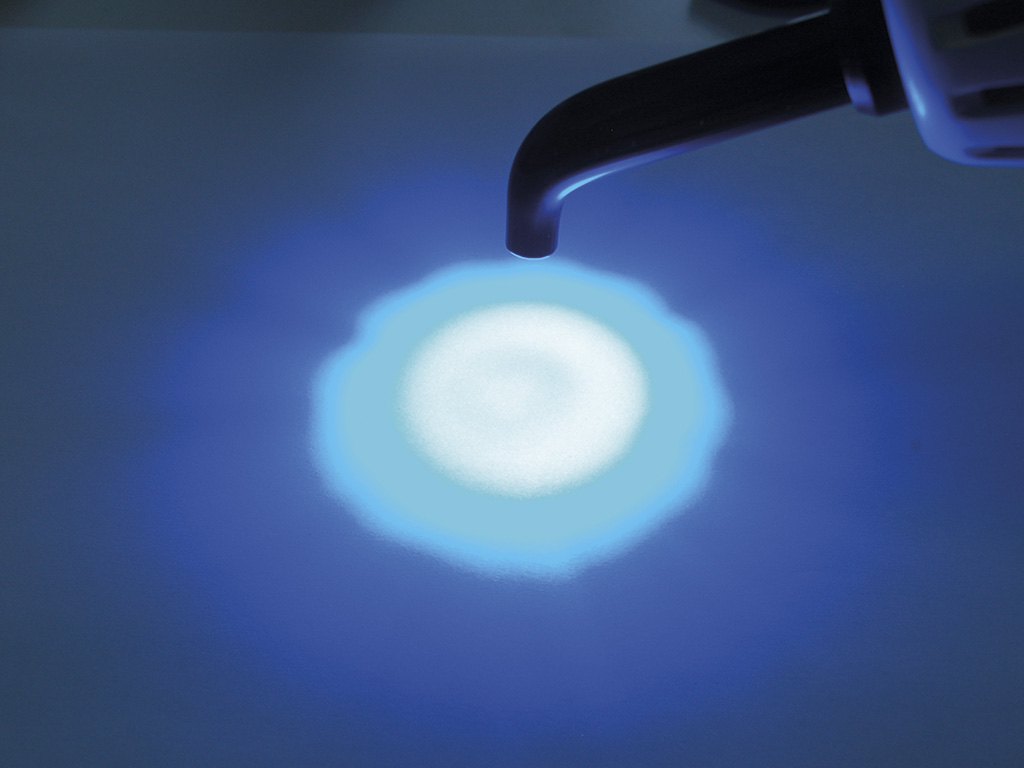
- Figure 8A The light curing wand is much closer to the surface on the left than the right, meaning that the intensity of light is much greater as the intensity varies as the inverse square of the distance
-

- Figure 8B
-
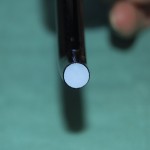
- Figure 9A The examination of two light guides by holding them up to daylight. The blotching of the surface of the guide on the right indicates damaged fibres
-
- Figure 9B

Correct intra-oral handling
The operator must pay particular attention when manipulating the material in the mouth, as failure to do this correctly will result in failure.
As mentioned earlier, the material should be placed into the intended site prior to the commencement of the setting phase. Irrespective of an impression or direct restorative material, once in situ, it should not be disturbed during this phase.
Failure to allow dental cements to go to full set without being disturbed leads to damage to the bulk of the material, leading to a stressed and weakened material3. Similarly the operator should provide even support for the impression tray to prevent inadvertent movement of the tray until the impression material has achieved full set (Fig 4).
Movement of the tray during this phase may lead to drags and stresses and strains in the impression material, leading to inaccuracies.
Once placed in the cavity, resin composite should not be excessively manipulated, as this leads to the introduction of air, leading to porosity, areas of stress concentrations and sites of failure5.
Furthermore, resin composite shrinks on polymerisation and so it is imperative to use a sectional matrix system when restoring a Class II cavity, as this helps to compensate for the shrinkage (Fig 5)6.
When the retaining ring is placed, the teeth are forced apart due to a luxation force. When the resin composite has been cured, the matrix system is removed, allowing the teeth to return to their original position. The creation of a good broad contact area with the approximal surface of the adjacent tooth is considered to be the most challenging aspect of doing a Class II restoration in resin composite.
This cannot be adequately achieved with the use of a matrix band intended for use with dental amalgam such as a Siqveland. This type of matrix band may also bend weakened cusps into the cavity, causing the resin composite restoration to be bonded in the cavity under stress. This may result in fracture of the tooth or manifest as pain, especially on chewing as the tooth flexes during function.
It goes without saying that the matrix should be correctly applied so that the material is properly contained and with the correct contour.
Dental materials should never be mixed with other materials unless expressly stated by the manufacturer. This is because they may be chemical incompatible. For example, it may be that materials are made of the same generic resins e.g. Bis GMA, but the synthesis of this molecule can vary from manufacturer to manufacturer.
It is, therefore, essential that different products used in one restoration are sourced from the same manufacturer, otherwise a substandard material with inferior mechanical properties will result. This also holds true for the combination of bonding agent and the resin composite restorative material. Consistency is a very important consideration3.
Light Curing
Advantages
The problem of disturbing partially set material has been largely overcome by light curing. This permits the operator to cure the material in a matter of seconds by the application of light energy. This is very convenient, as this “command set” provides an extended working time without the commensurate protracted setting time seen with chemical-cured materials.
Compatibility of systems
Light curing has some hidden pitfalls, however. In recent years, there has been a move away from resin composites that use camphorquinone as its photo-initiator. Examples of these materials are lighter shade resin composites, flowable composites, bulk fills, orthodontic bonding cements and temporary inlay materials.
There are a couple of reasons for this. Firstly, camphorquinone is yellow in colour and this precludes its use in bleaching and lighter shades of resin composite as it adversely influences the shade. To overcome this problem, another photo-initiator must be used which is white in colour. Phenylpropanedion (PPD) or Lucirin TPO are commonly used (Fig 6).
Secondly, these latter photo-initiators are more efficient than camphorquinone and so require less energy to effect the setting reaction. For this reason, they have been used in the bulk fill materials that boast a curing depth of up to 4mm.
The recent scientific work shows great promise for these materials7. These chemicals have a peak absorption wavelength of 380 and 430nm opposed to 470nm for camphorquinone. Their increasing use will have significant consequences, as many clinicians will have to purchase curing lights able to effect cure at these lower wavelengths. It is strongly advised that the dentist ensures that each new material introduced into the clinic is compatible with the surgery curing light able to deliver sufficient energy at the photo-initiator’s peak absorption wavelength, otherwise the material will not fully cure.
Choice of curing light
The clinician broadly has a choice of a halogen or light emitting diode (LED) curing lamp. The former has a good track record, but its broader spectral range means that it is less efficient (Fig 7).
With time, the filament in the halogen bulb ages by thinning, with the result that the wavelength of light emitted changes. This reduces the amount of energy emitted at the peak absorption wavelength.
This may result in insufficient energy being emitted at this critical wavelength leading to incomplete cure. This is impossible to detect with the naked eye, as the light remains blue. The output of the lamp should therefore be checked regularly, with a radiometer included in the base unit of many models. Halogen bulbs should be changed every three to six months or sooner if the bulb has become darkened.
LED curing lights have, in recent years, become much more commonplace. They are very powerful, emitting in excess of 1W of energy, and produce very effective polymerisation of resin composites, provided their narrow spectral band corresponds to the peak wavelength of the photo-initiator.
Their long-term performance is good, as the wavelength of light delivered does not change unlike halogen lights.
Some manufacturers have overcome the problem of insufficient energy at the optimum wavelength by incorporating a number of LEDs in the lamp head to encompass all the desired peak absorption wavelengths.
Curing factors
There are many factors which influence the rate of cure. As the intensity varies as the inverse square of the distance, it is imperative that the tip of the curing light is held close to the restoration and perpendicular to ensure an even amount of energy dispensed to the material (Fig 8).
Clearly, this light must transmit through the material to reach the photo-initiator in all of the unset material. Light penetration is affected by a number of factors, namely the particle size of the filler, with material consisting of small particles taken longer for the light to transmit through as it is attenuated by the particles.
More opaque and darker shades will need more time for the light to transmit through. Furthermore, if there is a mismatch between the optical properties of the glass and resin, then this will have a detrimental effect, as will variables in the diketone/amine chemistry that is necessary for set.
Curing light care and maintenance
In 2001, Mitton and Wilson8 looked at curing lights in general dental practice that showed some alarming results. They found that 28 per cent of the lights had inadequate light output, 47 per cent were damaged or had been repaired and 35 per cent had varying amounts of material adhering to the light exit portal, which would have the effect of decreasing the amount of light which could be emitted from the light.
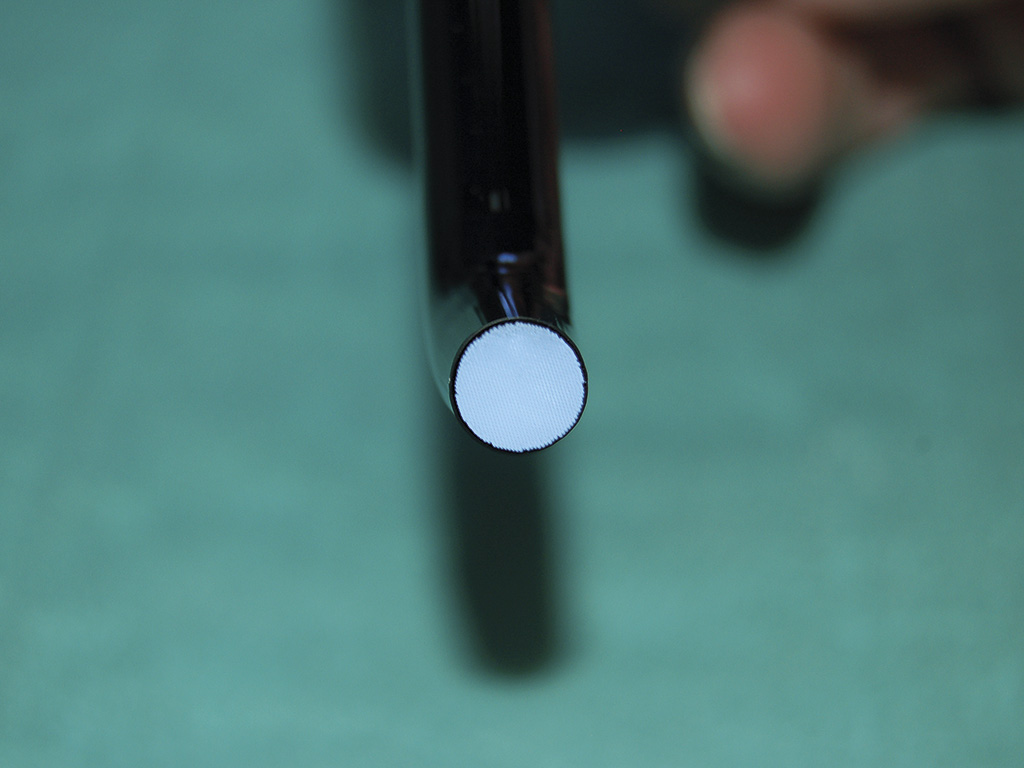
They made some useful and practical suggestions that could be easily introduced into surgery protocols. For example, all components of the light should be regularly inspected for damage and the light guide checked for conductance by viewing daylight through the distal end. Black spots or speckling indicates damaged fibres in the fibre bundle (Fig 9).
The light guide should be replaced if more than 10 per cent of the fibres are damaged. There is a useful addendum in the paper and readers would be well advised to incorporate the recommendations into surgery protocols.
During use, the dental team should avoid contamination of the light guide with unset resin composite material or bonding agents during curing. This would lead to set material compromising the light being emitted.
The light guide should be cleaned immediately after each use and decontaminated between patients. Sheaths are available for use over the light guide, but there is some evidence that this affects the quality of light emitted.
A universal shade composite is packed into the cavity and cured. The wedge is then inverted and if soft material remains on the base the light is not functioning adequately.
Thermal trauma
Many dental materials undergo an exothermic reaction during setting and the clinician should be aware of the potential problems associated with any temperature changes. These can be marked particularly with any resin systems.
Light guides emit much heat with the higher the intensity, the more energy and therefore the more heat. This may have detrimental effects on the dental pulp with a rise of 12˚C, causing irreversible damage leading to pulpal death.
Finishing
Careless finishing and polishing can also transmit heat to the tooth and the dentist is advised, where possible, to carry out any rotary finishing under water spray to dissipate any heat generated. This prevents localised heating of the resin leading to hot spots in the material above the glass transition temperature leading to melting alterations in resin form.
The correct instruments should be used to finish and polish restorations and this should be done at the appropriate time. For example, glass ionomer cements should be left to fully set before they are polished, a process which can take 24 hours.
The appropriate post-operative instructions should then be given to the patient.
Conclusions
Placement factors and well as pre-placement factors have a significant bearing on the success or otherwise of the restoration. Attention to detail at each stage is essential.
The next article in this series examines appropriate material selection and its relationship with tooth preparation.
About the author
Steve Bonsor graduated from the University of Edinburgh in 1992 and in 2008 gained an MSc in Postgraduate Dental Studies from the University of Bristol. From 1997 until 2006, Steve was a part-time clinical teacher at Dundee Dental Hospital and School and honorary clinical teacher at the University of Dundee in the sections of operative dentistry, fixed prosthodontics, endodontology and integrated oral care. He currently holds appointments at the University of Edinburgh, as an online tutor on the MSc in Primary Dental Care programme and at the University of Aberdeen as honorary clinical senior lecturer leading the applied dental materials teaching at Aberdeen Dental School. As well as lecturing throughout the UK, Steve is actively involved in research, having published original research articles in peer-reviewed journals. His main research areas are photo-activated disinfection and the clinical performance of dental materials.
References
1. Smales RJ. Rubber dam usage related to restoration quality and survival. Br Dent J 1993 May 8;174(9):330-333.
2. Haruyama A, Kameyama A, Tatsuta C, Ishii K, Sugiyama T, Sugiyama S, et al. Influence of different rubber dam application on intraoral temperature and relative humidity. Bull Tokyo Dent Coll 2014;55(1):11-17.
3. Bonsor SJ, Pearson GJ. A Clinical Guide to Applied Dental Materials. 1st ed. Edinburgh: Churchill Livingstone Elsevier; 2013.
4. Statement on posterior resin-based composites. ADA Council on Scientific Affairs; ADA Council on Dental Benefit Programs. J Am Dent Assoc 1998 Nov;129(11):1627-1628.
5. Chadwick RG, McCabe JF, Walls AW, Storer R. The effect of placement technique upon the compressive strength and porosity of a composite resin. J Dent 1989 Oct;17(5):230-233.
6. Burke FJ, Shortall AC. Successful restoration of load-bearing cavities
in posterior teeth with direct-replacement resin-based composite. Dent Update 2001 Oct;28(8):388-94, 396, 398.
7. Moorthy A, Hogg CH, Dowling AH, Grufferty BF, Benetti AR, Fleming GJ. Cuspal deflection and microleakage in premolar teeth restored with bulk-fill flowable resin-based composite base materials. J Dent 2012 Jun;40(6):500-505.
8. Mitton BA, Wilson NH. The use and maintenance of visible light activating units in general practice. Br Dent J 2001 Jul 28;191(2):82-86.
Comments are closed here.